Sourdough Pita That Puffs on a Home Baking Steel
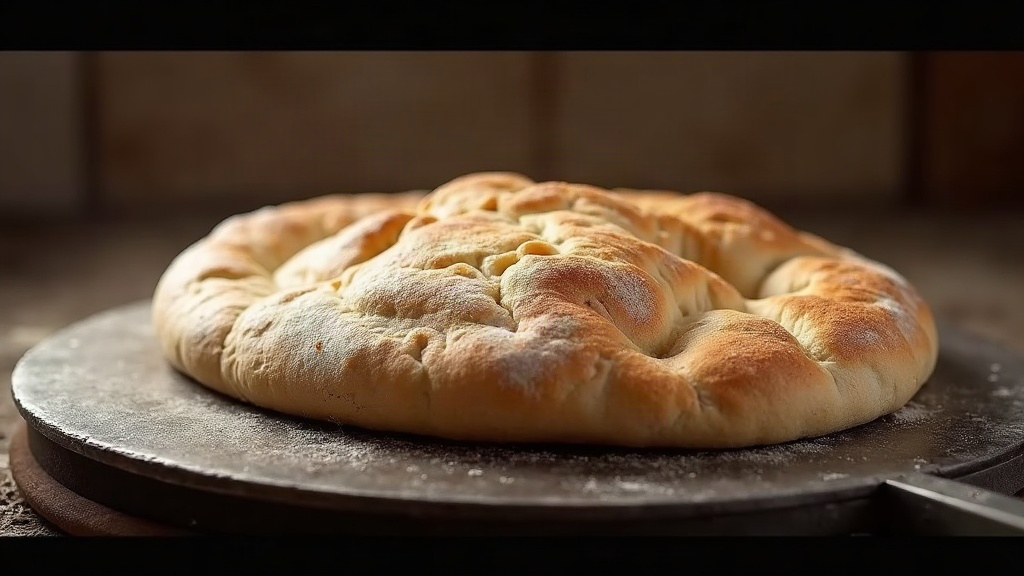
Why Sourdough Pita Actually Puffs (And How to Get It Right at Home)
Naturally leavened sourdough pita can absolutely puff into that iconic pocketed dome at home. But there’s a catch: you need to control three things at once, hydration, dough temperature, and surface heat. Miss one and you get a flat, sad disc instead of a pocket. This guide walks through a reliable method for baking sourdough pita on a home baking steel, and gets into why pockets actually form so you can troubleshoot flat bread before it even happens.
Why Pita Puffs in the First Place
It’s basic physics, honestly. When raw dough hits intense, even heat, the moisture trapped inside flashes into steam almost instantly. That steam needs an escape route, and because the dough is rolled thin and uniform, pressure builds evenly across the whole round. The dough splits into two layers right down the middle, and that’s your pocket.
Three things will wreck this every time:
- Uneven thickness. Thin spots vent steam too early; thick spots never separate at all.
- Weak or sluggish fermentation. Underproofed sourdough just doesn’t have the gas structure to expand fast enough.
- Insufficient heat. Most home ovens can’t touch the blast-furnace temps of a tandoor or a commercial deck oven. This is exactly where a baking steel earns its keep.
Why a Baking Steel Beats a Stone
Steel conducts heat way more efficiently than ceramic stones (its thermal conductivity is on another level). That means it bounces back almost instantly after you slap a cold round of dough onto it, which matters a lot since pita needs a brutal thermal shock in the first 60 to 90 seconds of baking. A stone just can’t recover fast enough for repeated bakes.
Setup basics:
- Place the steel on the oven’s top rack, roughly 3-4 inches below the broiler element.
- Preheat at 500°F (260°C) for a full 45-60 minutes. Steel takes longer to fully saturate with heat than stone does, so don’t rush this.
- Run the broiler for the last 5-10 minutes before baking to push the surface temperature even higher.
Building the Sourdough
A well-timed levain is really the backbone of a reliable puff. You want a mature, active starter here, one that’s doubled in size, nicely domed, and smells pleasantly sour (not sharp or acetone-like). Aim for 100% hydration.
Basic formula (makes 8 pitas):
- 500g bread flour (11-13% protein)
- 320g water (64% hydration)
- 100g active sourdough starter
- 10g fine sea salt
- 1 tsp olive oil (optional, helps extensibility)
Mixing and Fermentation
- Mix flour and water, then rest 30 minutes (autolyse). This develops gluten without much manual kneading.
- Add the starter and salt, mix until fully incorporated.
- Bulk ferment 6-8 hours at 75-78°F (24-26°C), doing 3-4 stretch-and-folds within the first 2 hours.
- The dough is ready when it’s about 50-75% larger, domed on top, and jiggly when you nudge the bowl. Not flat, not collapsing.
Don’t let it overproof. Sourdough pita needs gas to trap, sure, but overfermented dough goes slack and tears instead of holding that steam pocket.
Shaping for Even Puff
- Divide the dough into 90-100g balls and rest them 20 minutes, covered, to let the gluten relax.
- Roll each ball into an even 6-7mm round. A kitchen scale under your rolling surface sounds excessive but actually helps you feel out thickness consistently.
- Dust lightly with flour, not semolina (semolina scorches at these temperatures).
- Let the rolled rounds rest 10-15 minutes before baking. This stops immediate shrink-back and gives the gluten time to relax, which matters for even expansion.
Baking on the Steel
- Slide the rolled round directly onto the preheated steel using a thin peel or an inverted baking sheet.
- Bake 2-3 minutes undisturbed. Resist the urge to peek, opening the door loses heat and stalls the puff.
- Watch through the oven window instead: the dough should balloon up within 60-90 seconds.
- Flip briefly for 20-30 seconds if you want a little color on both sides, then pull it out right away.
Stack the baked pitas under a clean kitchen towel as you go. The trapped steam keeps them soft and pliable instead of drying out.
Troubleshooting Flat Pita
- No puff at all: the oven probably isn’t hot enough, or the dough was rolled unevenly.
- Puffs, then deflates: you pulled it too early, before the internal structure had time to set.
- Tough, dense pita: underproofed dough, or too much flour worked into the rolling surface.
- Scorched spots, no pocket: the steel is sitting too close to the broiler without adjusting rack distance.
Final Thoughts
Reliable sourdough pita puff really comes down to a few repeatable fundamentals: well-fermented dough, even rolling, and a scorching-hot steel that mimics what a professional oven does. Once you’ve dialed in your own oven’s hot spots and gotten a feel for your starter’s rhythm, you’ll get consistent, pillowy pockets bake after bake. No gas burner, no tandoor, just a steel and a decent oven.