Fix Blisters on Sourdough Crust After Overnight Fridge Proof
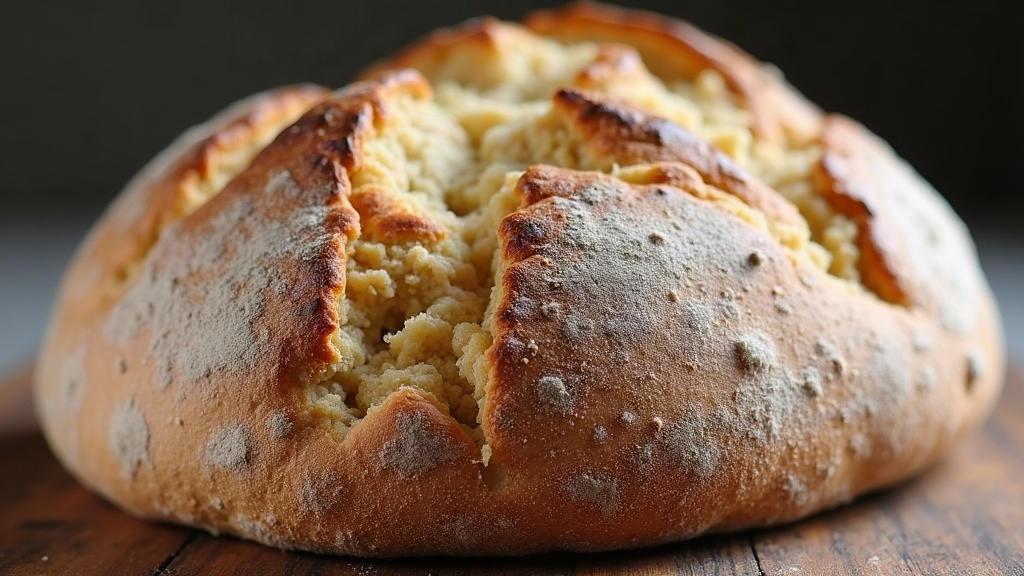
Why Blisters Form After Cold Proofing
Fermentation doesn’t actually stop in the fridge overnight. It just slows down, and it slows unevenly across the loaf. Wild yeast and bacteria keep churning out carbon dioxide, but cold hits the surface of the dough faster than it hits the interior. That temperature gap creates little pockets of trapped gas right under the skin, and when the loaf hits a 480°F oven, those pockets expand fast, pushing up through the crust and ballooning into blisters.
A few things push this along:
- Surface moisture building up as condensation, usually from covering the dough too tightly or leaving it exposed in a damp fridge
- Over-fermentation before the cold retard even starts, so there’s still a lot of gas activity happening right near the surface
- Sloppy shaping, which leaves thin or weak spots where gas pushes through unevenly instead of distributing itself
- Aggressive steam and heat combined, which can make blisters balloon bigger than they otherwise would
Is Blistering a Problem?
Honestly, not always. Plenty of professional bakers treat a blistered crust as proof of a properly fermented, naturally leavened loaf. Think of those big rustic country loaves you see at well-known artisan bakeries, the kind with a shiny, bubbled surface. That look is often prized, not avoided.
It only turns into an actual problem when the blisters:
- Char and burn before the rest of the crust catches up
- Show up in a patchy, uneven way that makes the loaf look sloppy rather than rustic
- Pop open mid-bake, leaving torn, gaping holes in the crust
How to Reduce or Control Blistering
1. Adjust Your Fermentation Timing
Too many blisters usually means your dough went into the fridge a bit too far along. Try trimming bulk fermentation by 15 to 30 minutes before shaping and retarding. You’re aiming for dough that’s risen maybe 50 to 60%, not doubled, by the time it goes cold.
2. Improve Shaping Tension
A loose, under-shaped loaf has soft spots all over its surface, and that’s exactly where blisters like to form. Tighten things up during final shaping, use a bench scraper to really pull the skin taut, so the surface tension is even all the way around instead of weak in random spots.
3. Control Surface Moisture
Don’t let the dough sit uncovered in a humid fridge, but also don’t seal it so tight that condensation beads directly on the dough. A lightly floured banneton with a loose plastic cover over the top usually hits the sweet spot.
4. Bake at a Slightly Lower Temperature
If your blisters keep scorching, drop the oven by 10 to 15°F (roughly 5 to 8°C) and let the bake run a few minutes longer. That extra time lets the crust firm up before the blisters get a chance to over-expand and burn.
5. Reduce Steam Duration
Steam is great for oven spring, but leave it in too long and the crust stays soft and pliable, which gives blisters more room to grow before they set. Cut your steam time by about 5 minutes and see what changes.
6. Score Strategically
A bold, deep score gives trapped gas an obvious exit route. Without it, gas wanders and pops up as blisters scattered randomly across the crust instead of escaping cleanly through your scored line.
When Blisters Mean Something Went Wrong
Big, thin-walled blisters that pop and leave gaping holes are a different story. That’s usually a sign of real over-fermentation, either too much time at room temperature before the fridge, or too many hours in the cold (most recipes top out around 24 to 48 hours). Try shortening your cold proof, or set your fridge a touch cooler, around 38°F (3°C), to slow fermentation down and keep things more stable.
Final Thoughts
A blistered crust after an overnight fridge proof is, more often than not, just fermentation doing its thing, not a sign you messed up. If you like that rustic, bubbled look, go with it. Plenty of bakers chase that exact effect on purpose. But if your blisters are burning, popping, or scattered unevenly across the loaf, small tweaks, a shorter bulk ferment, tighter shaping, better moisture control, a slightly cooler oven, will get you a crust that looks the way you want, blistered or smooth, pretty much every time.