Why Your Sourdough Has a Dense Bottom Layer (And Fixes)
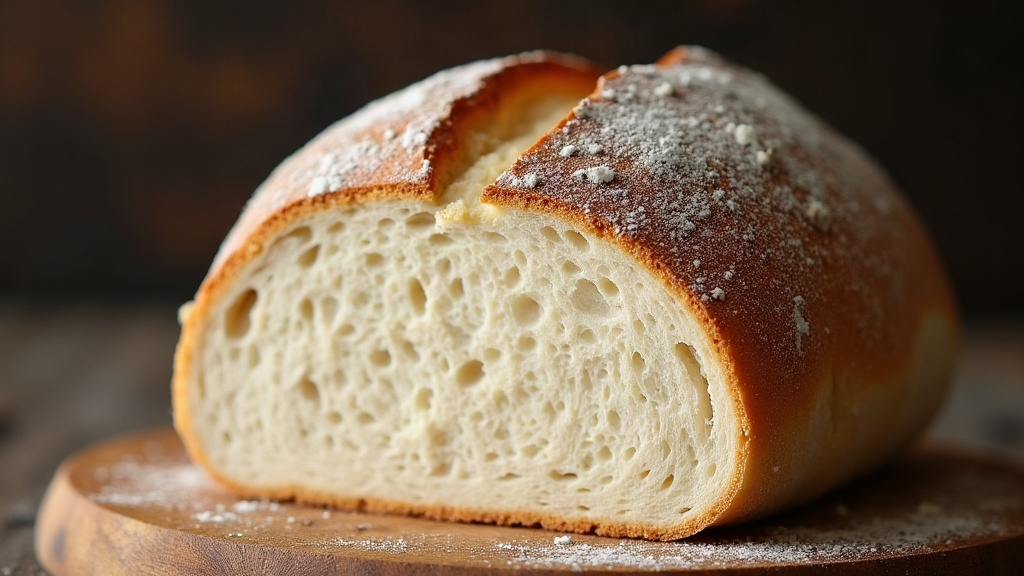
That thick, gummy band running along the bottom of an otherwise gorgeous sourdough loaf is probably the single most common complaint I see in baking forums and comment sections. Here’s the good news though: it’s almost always one of a handful of predictable culprits (oven heat distribution, trapped moisture during cooling, underproofing, or a sluggish starter), and every single one has a fix you can apply tonight.
What Exactly Is This “Dense Layer”?
Slice into your loaf and look for a compact, moist strip right above the crust, usually somewhere between 1/4 inch and a full inch thick. Sometimes it’s slightly gummy to the touch. It looks underbaked even when the rest of the crumb above it is wide open and airy, full of those glossy irregular holes you were hoping for. This isn’t the same thing as a flat loaf. Your top and sides can look like they came straight out of a bakery window while the bottom tells a completely different story.
The Most Common Causes
1. Excess Steam Trapped Underneath
Dutch ovens and steam are what give sourdough that crackly, blistered crust everyone wants. But too much trapped moisture, especially when it meets a cold or overly thick baking surface, condenses right at the spot where dough touches pot. That water gets reabsorbed into the dough before it has any chance to evaporate off, and you end up with a gummy strip baked right into the loaf.
Fix: Preheat your Dutch oven and its lid for a full 45 to 60 minutes at baking temperature, not 20 minutes, not “until it feels hot.” Pull the lid off for the last 15 to 20 minutes of the bake so steam can actually escape and the bottom gets a chance to dry out and brown the way it should.
2. Insufficient Bottom Heat
An oven that runs cool, or a baking stone/steel that hasn’t fully come up to temperature, won’t give the bottom of your loaf the quick oven spring and crust-setting it needs in those first few minutes. Instead of baking through cleanly, the dough just sits there and steams.
Fix: Preheat your stone or steel for at least 45 minutes, no shortcuts. Move your oven rack down to the lower third of the oven. And if you’ve been baking on a sheet pan, try switching to a preheated steel instead. A sheet pan insulates; a steel conducts heat directly into the dough, which is what you actually want.
3. Underproofing (or Underfermentation)
A dense bottom layer very often means the dough simply wasn’t given enough time, or the right conditions, to build up enough gas and structural strength before it hit the oven. Underproofed dough has less elasticity right at the base, so instead of rising evenly it just compresses under its own weight while baking.
Fix: Stretch out your bulk fermentation until the dough has visibly grown 30 to 50% in volume, with a few bubbles showing on the surface. Use the poke test: press a finger in gently, and the dough should spring back slowly, leaving a faint indent behind rather than snapping back instantly or not at all.
4. Cutting the Loaf Too Soon
This one gets overlooked constantly, and it might be the biggest culprit of them all. Sourdough keeps cooking internally after it comes out of the oven, a process bakers call carryover baking. Cut into a loaf while it’s still hot and you release trapped steam far too quickly, which collapses the structure right near the base. The result can look and feel dense even when the actual bake was perfectly fine.
Fix: Let the loaf cool completely on a wire rack, at least 1 to 2 hours, longer if you can stand it. I know the smell makes waiting almost unbearable, but patience here genuinely changes the texture.
5. Weak or Under-Ripe Starter
If your starter wasn’t fully active at mixing time, the dough just doesn’t have enough fermentation power to lift evenly through its full height. The densest, heaviest part tends to settle right at the bottom, where gravity and uneven gas distribution are already working against it.
Fix: Your starter should double in size within 4 to 8 hours of being fed, and it should pass the float test (drop a spoonful in water; it floats if it’s ready) before you mix it into dough.
A Quick Diagnostic Checklist
- Did you preheat your oven and baking vessel for at least 45 minutes?
- Did bulk fermentation run long enough (check volume increase, not just a timer)?
- Was your starter active and bubbly at float-test stage?
- Did you take the Dutch oven lid off for the final stretch of baking?
- Did you wait at least an hour before slicing?
Answered “no” to even one of these? That’s very likely your culprit, right there.
Bonus Tip: Check Your Flour Hydration
High-hydration doughs, 80% and up, are more prone to a dense bottom simply because there’s more water that needs to escape. If you’re still newer to sourdough, try dropping hydration down to 70-75%. The dough becomes much easier to handle, and you cut the risk of a gummy base while you’re still dialing in your technique.
Conclusion
A dense bottom layer in sourdough really isn’t much of a mystery once you break it down. It’s almost always some mix of trapped steam, weak bottom heat, underproofing, or plain impatience during cooling. Lengthen your preheat, let fermentation run until the dough actually shows signs of life (not just a clock), and give your loaf real time to rest before the knife comes out. Change one variable at a time and you’ll pin down exactly what your particular oven and dough combo needs for an even, open crumb from crust to crust.